
How to Change the Filter in a Wet/Dry Vac
Jun 26th 2018
How to change the filter in a wet/dry vac
Believe it or not—your wet/dry vac filters serve a greater purpose than you might think. Without filters, the dust-particles and dirt in our home or construction site can quickly infiltrate the air we are breathing instead of staying secure in your Vacmaster—causing allergies and dirty messes that you were intending to clean up.
But when to make a replacement depends on how often you use your vac and what you pick-up with it. The best indications it’s time to change it out? When you notice a loss in suction.
Follow the simple how-to guide below when it’s time to replace it – for a cartridge, wet or HEPA material exhaust filter – and you can rest assured you’ll always be ready to master any mess.
Installing a Cartridge Filter:
Step 1: Always check that the power cord is disconnected from the outlet.
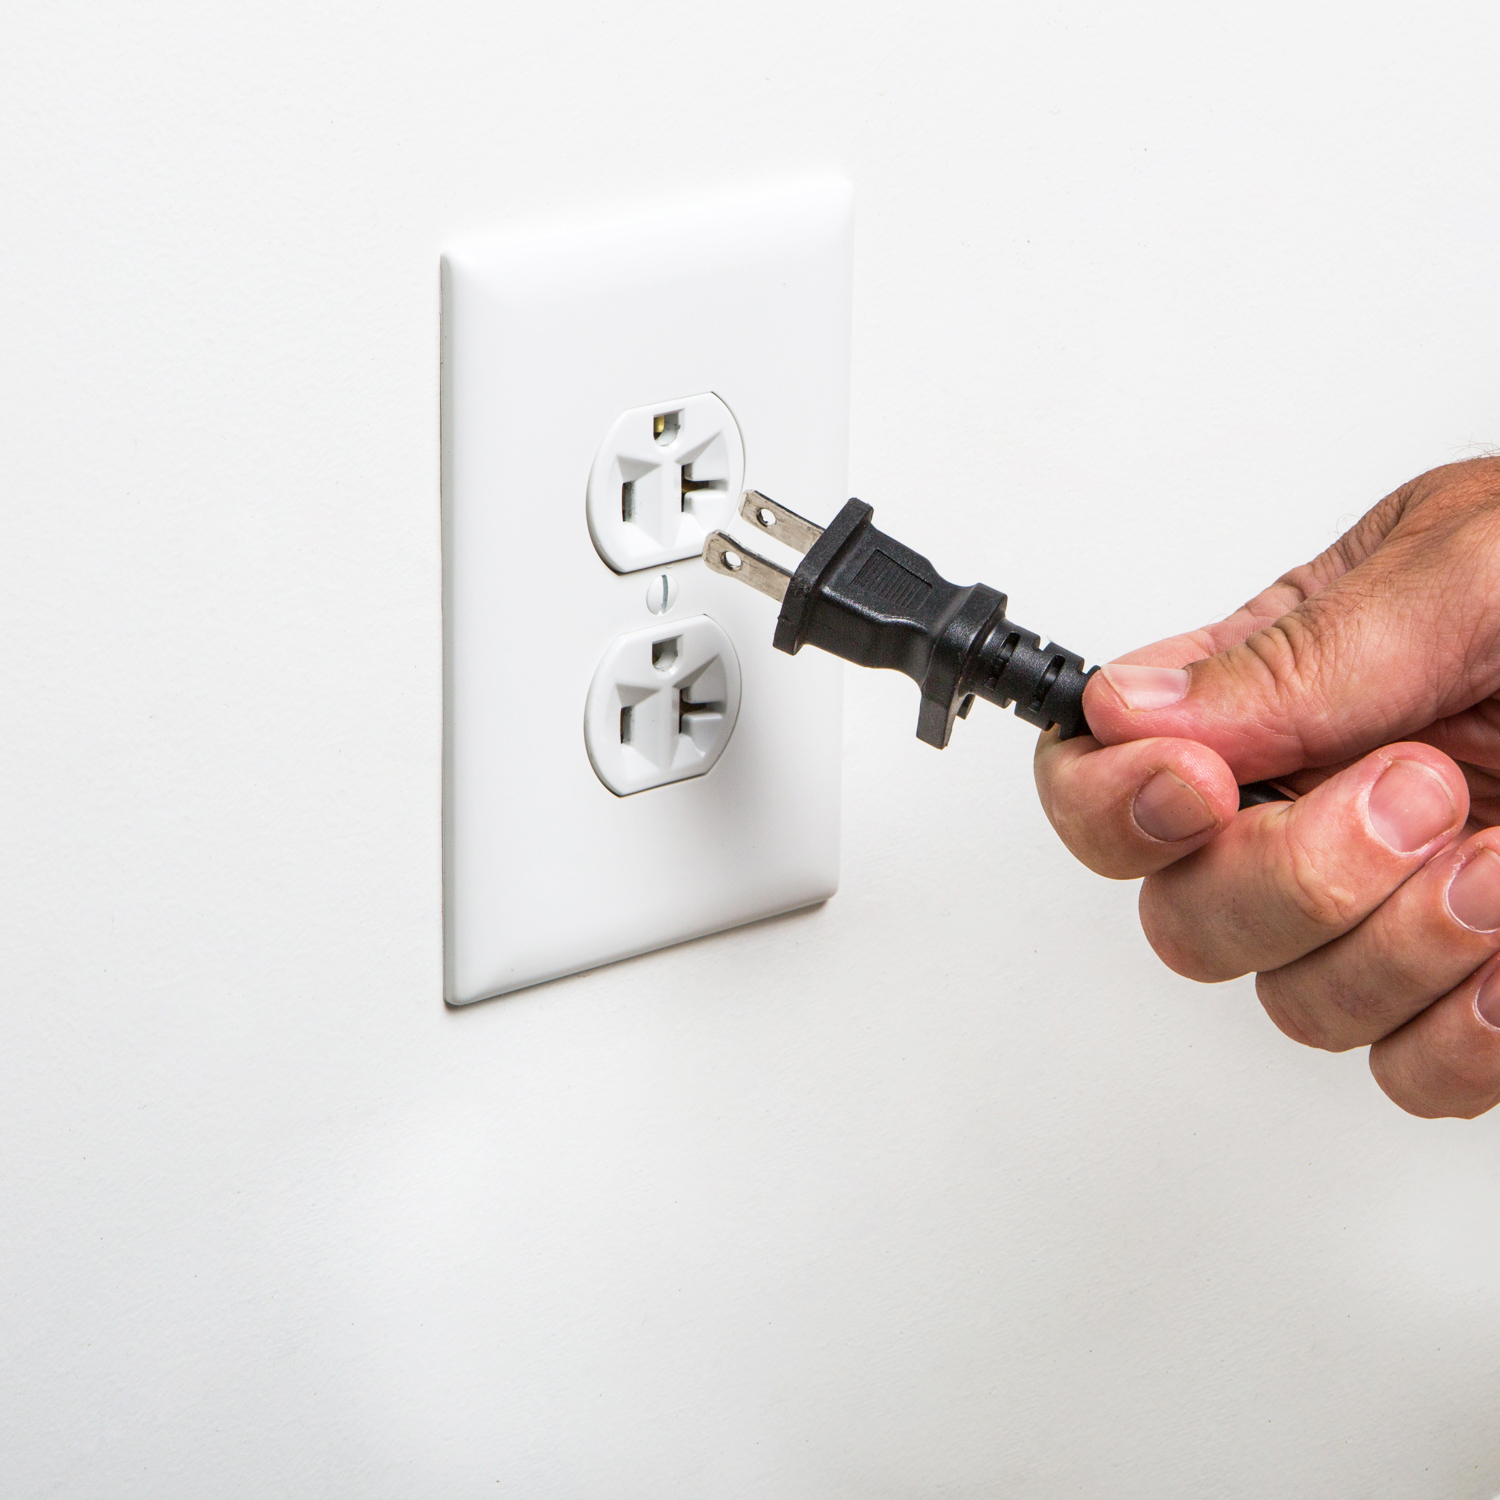
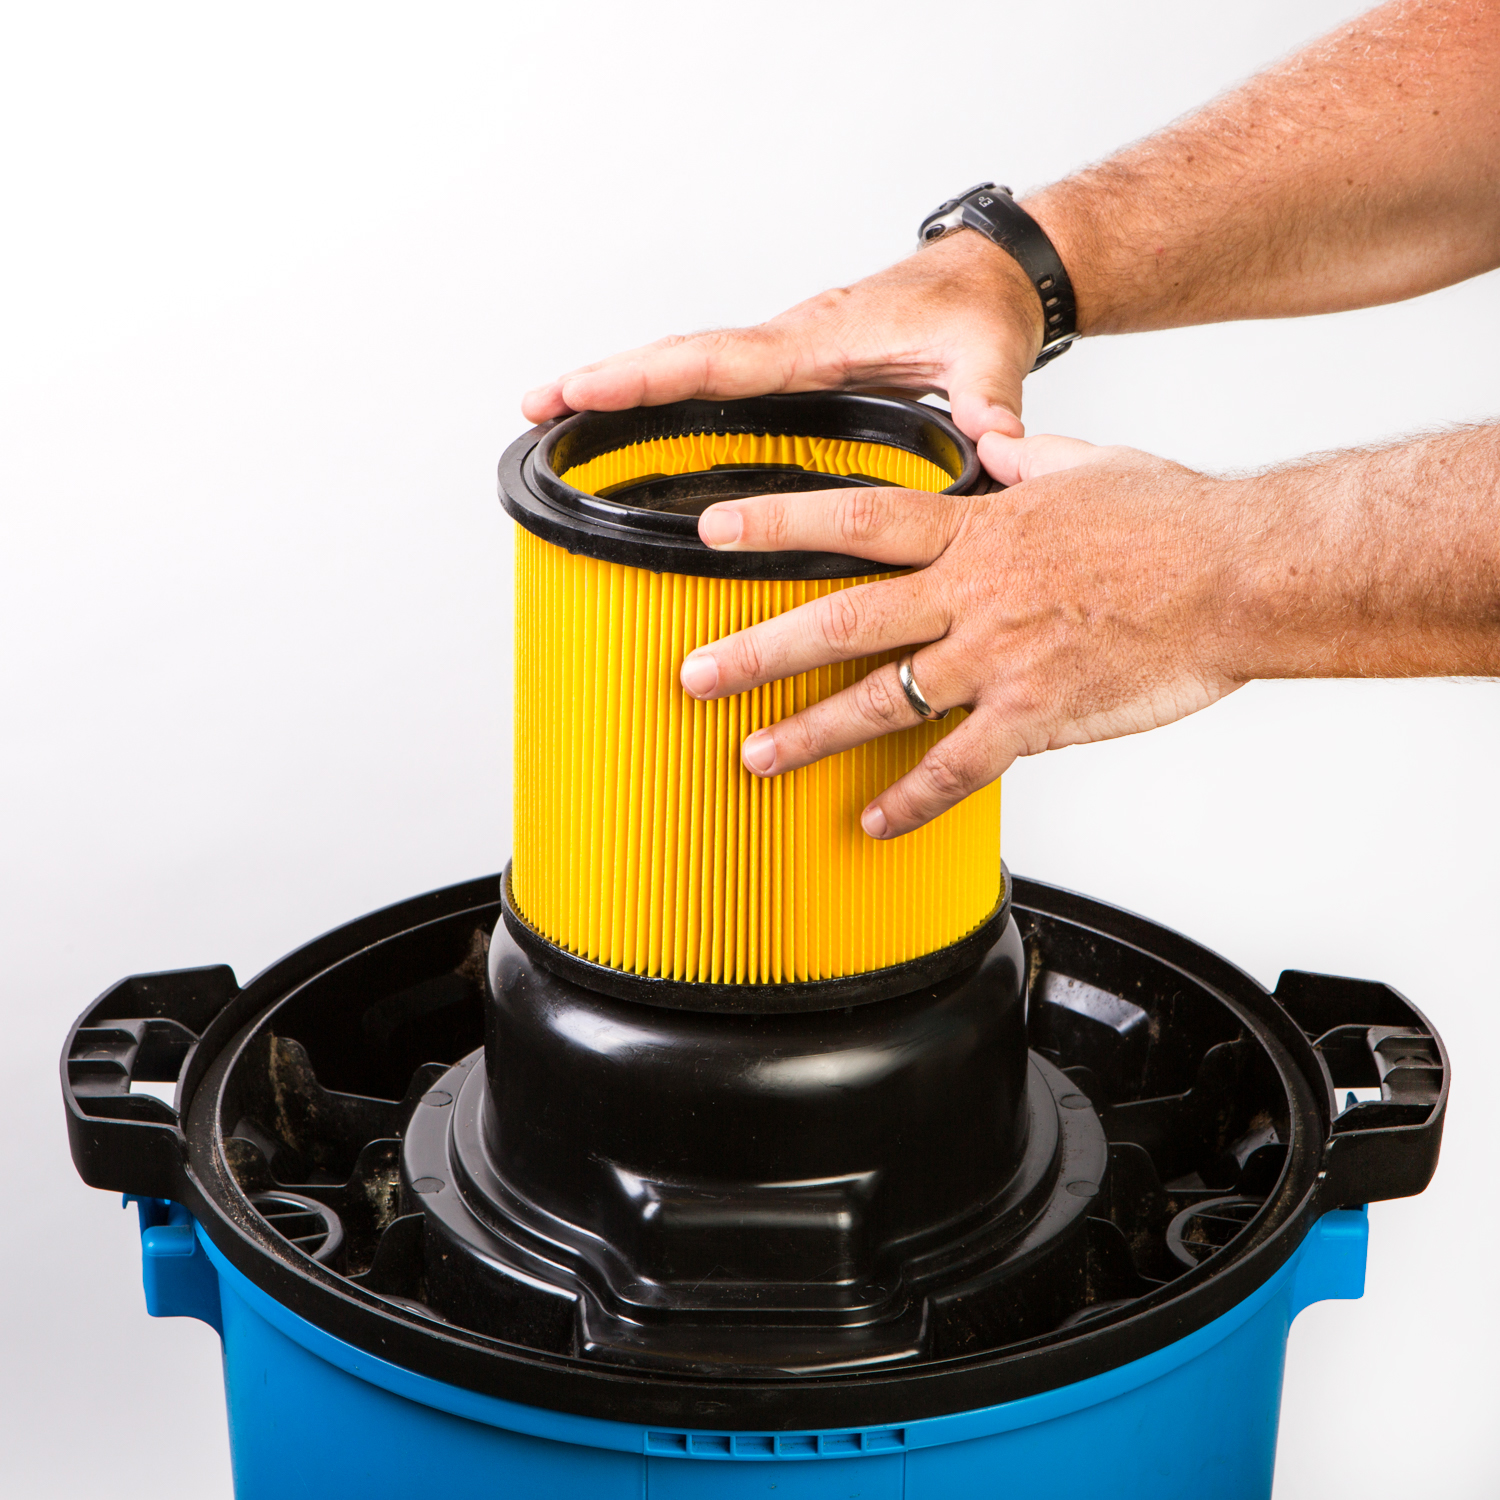
Step 2: Remove the power head and place in upside down position. If you have an old filter in place, loosen the filter retainer by turning it counter-clockwise, then lift and remove the old filter.
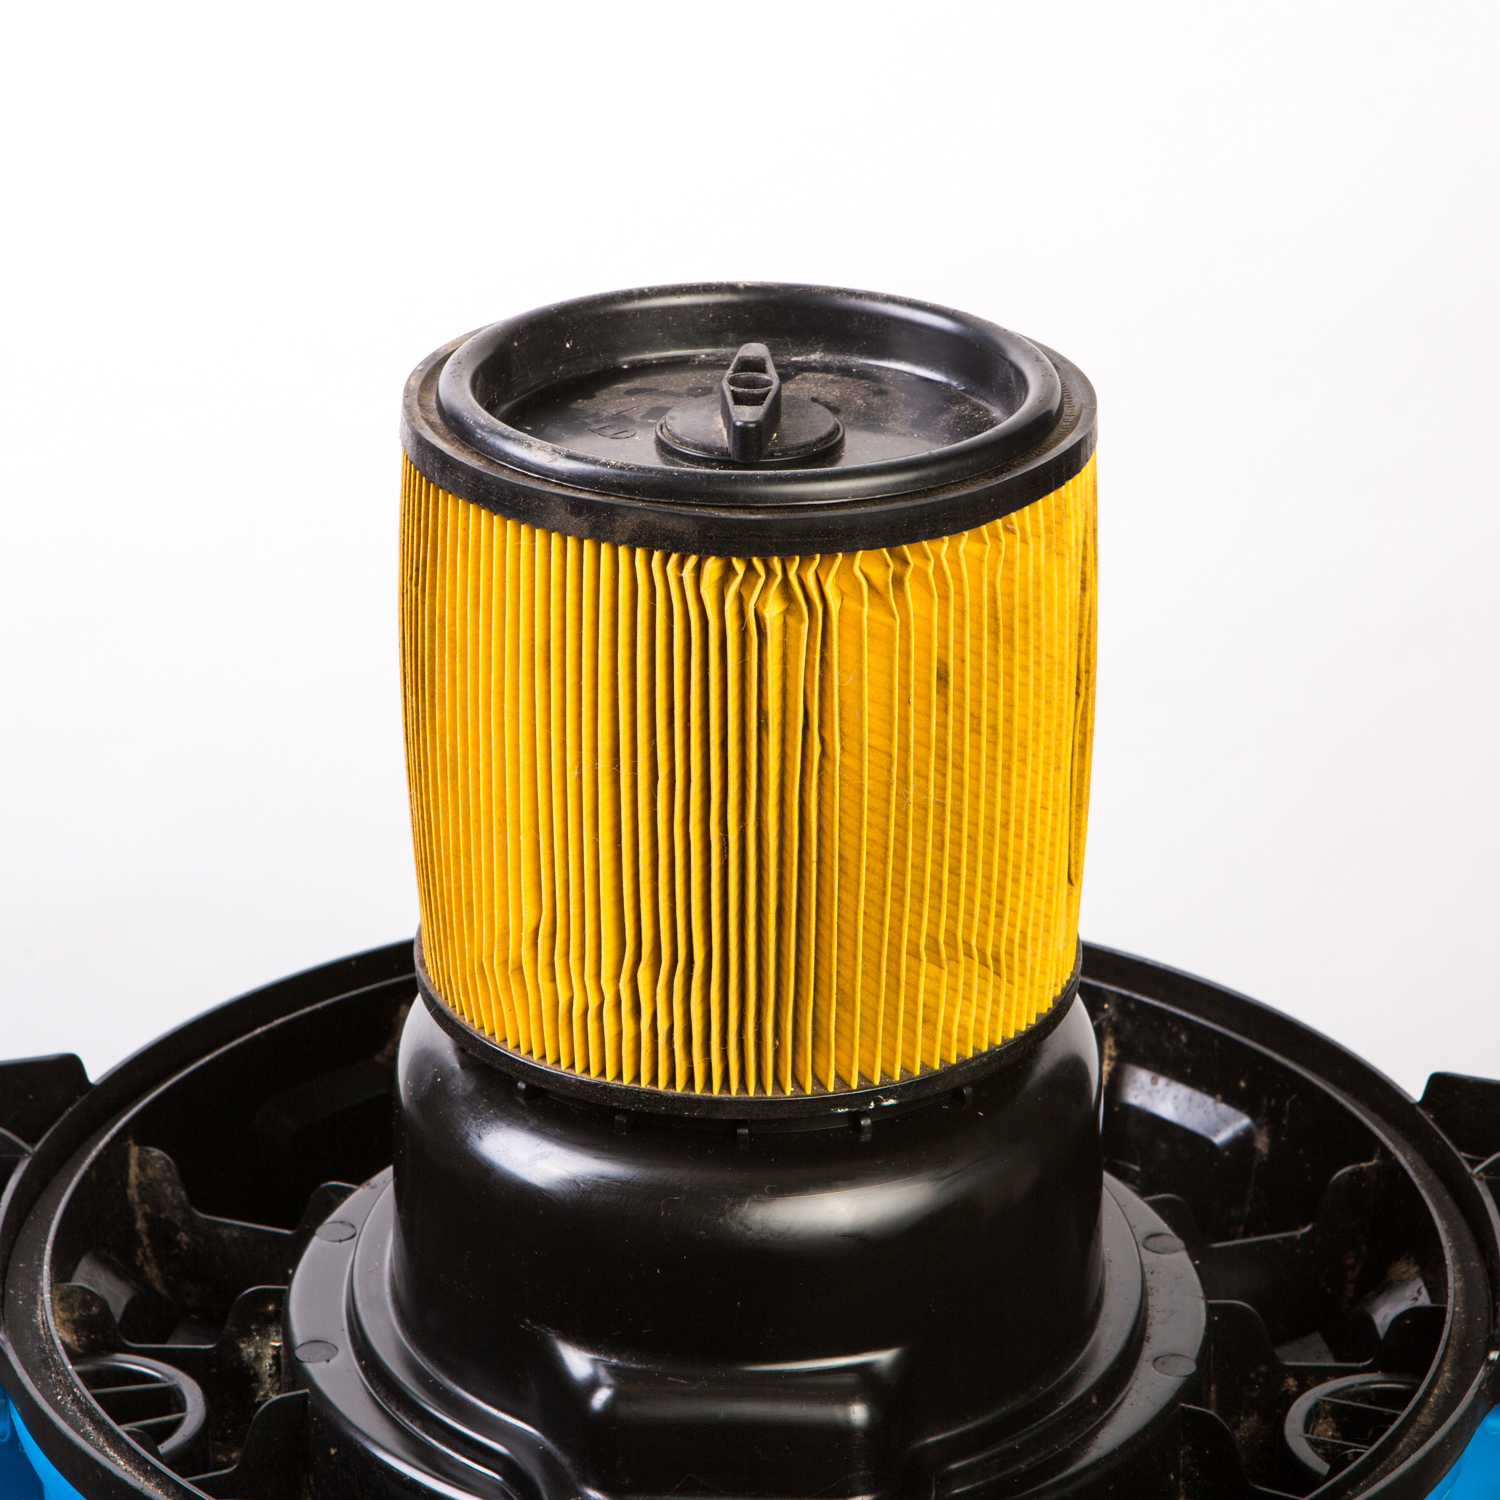
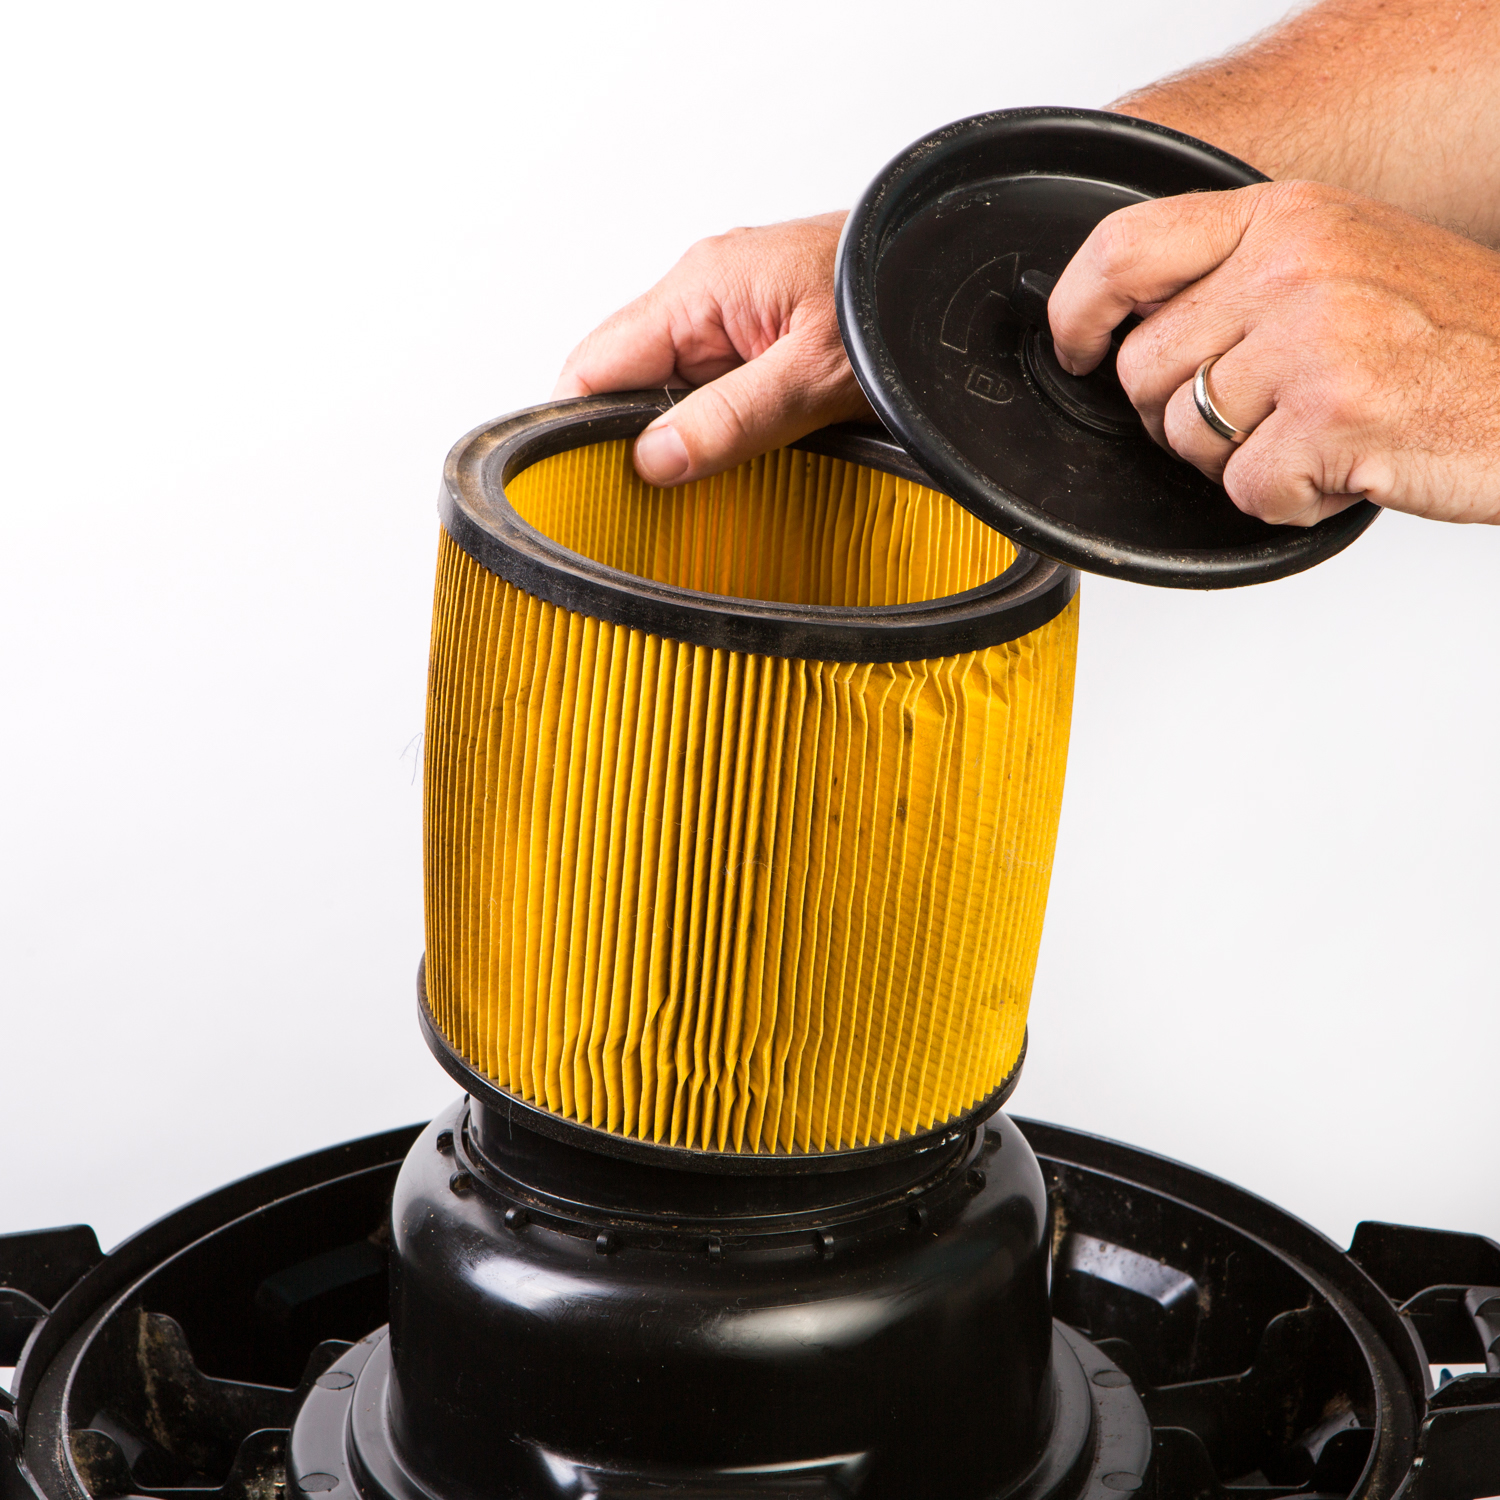
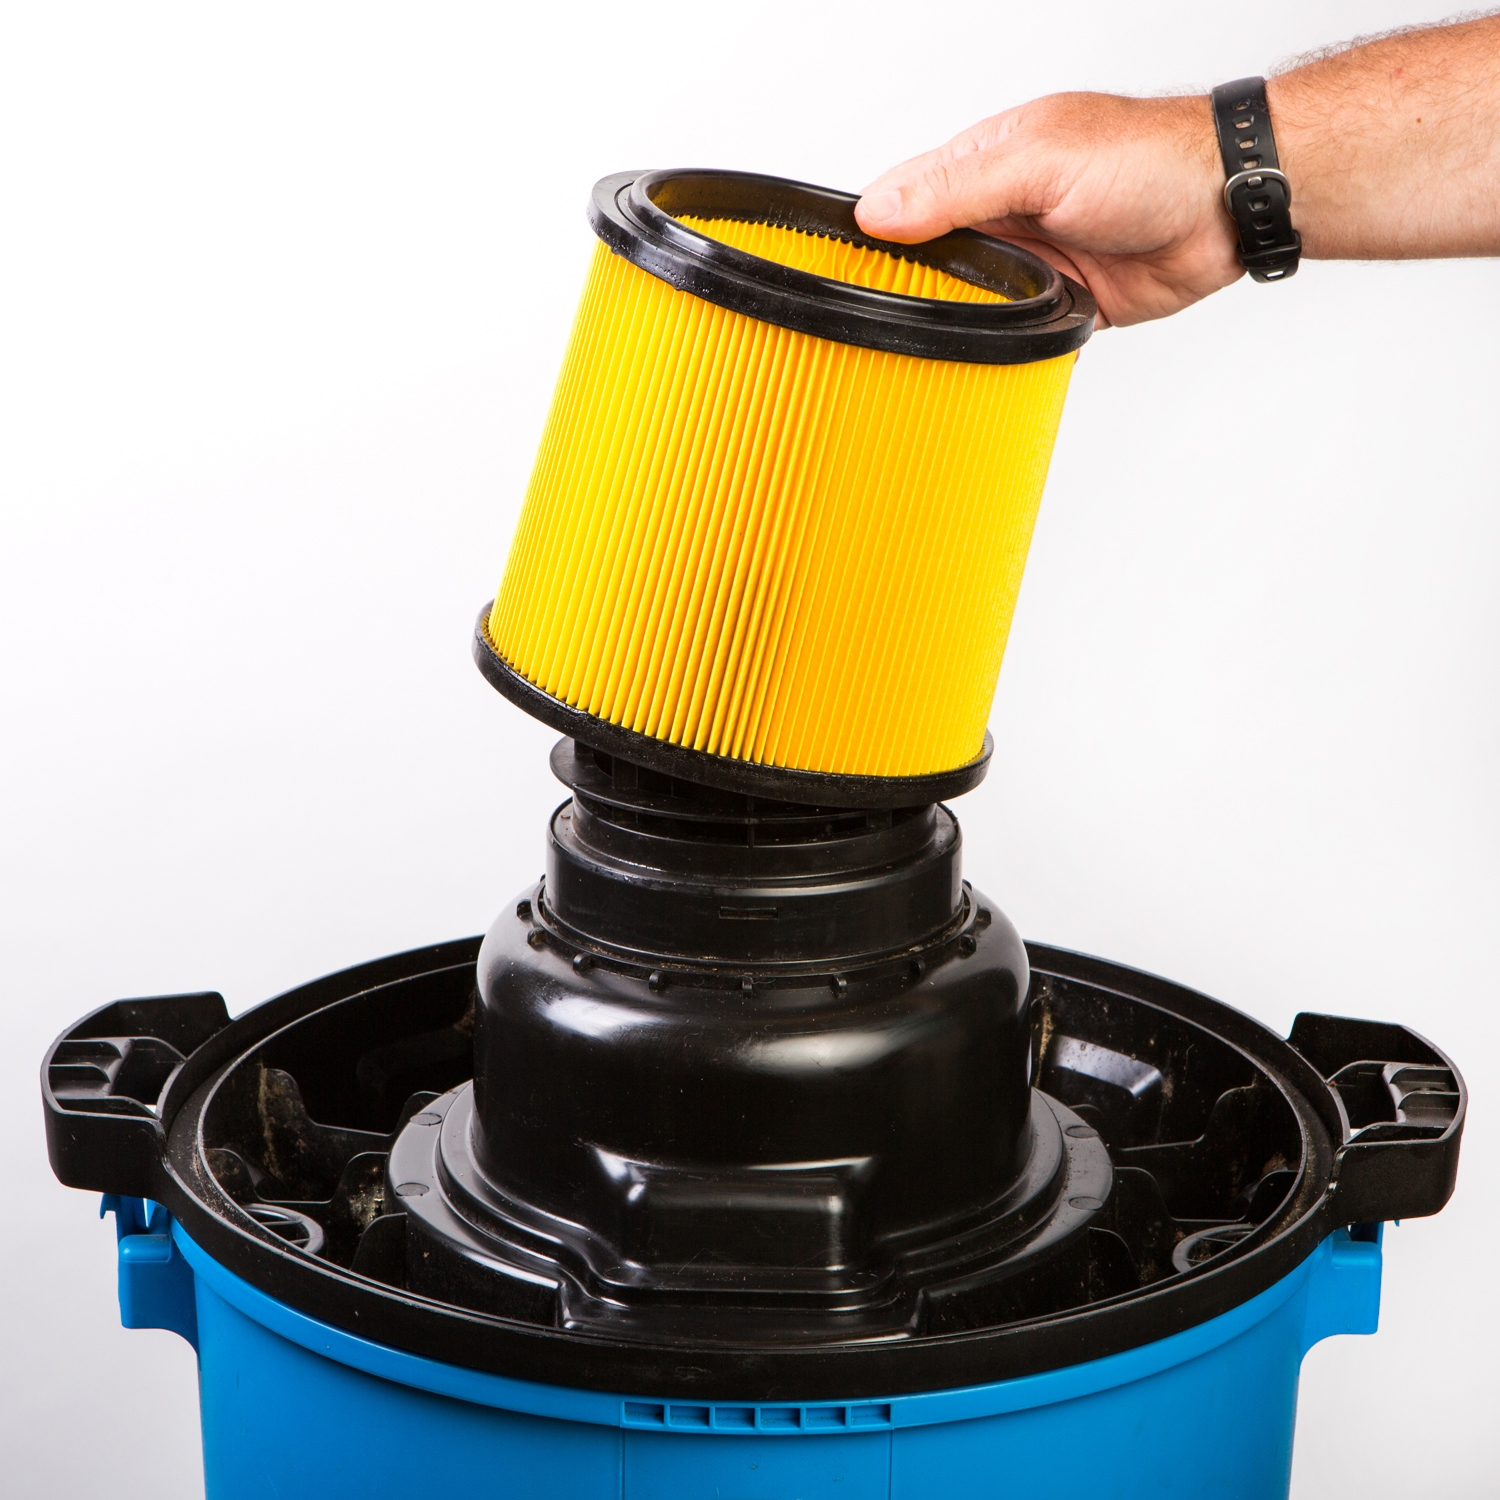
Step 3: Install the cartridge filter over the filter cage and carefully push filter in until it stops against the power head.
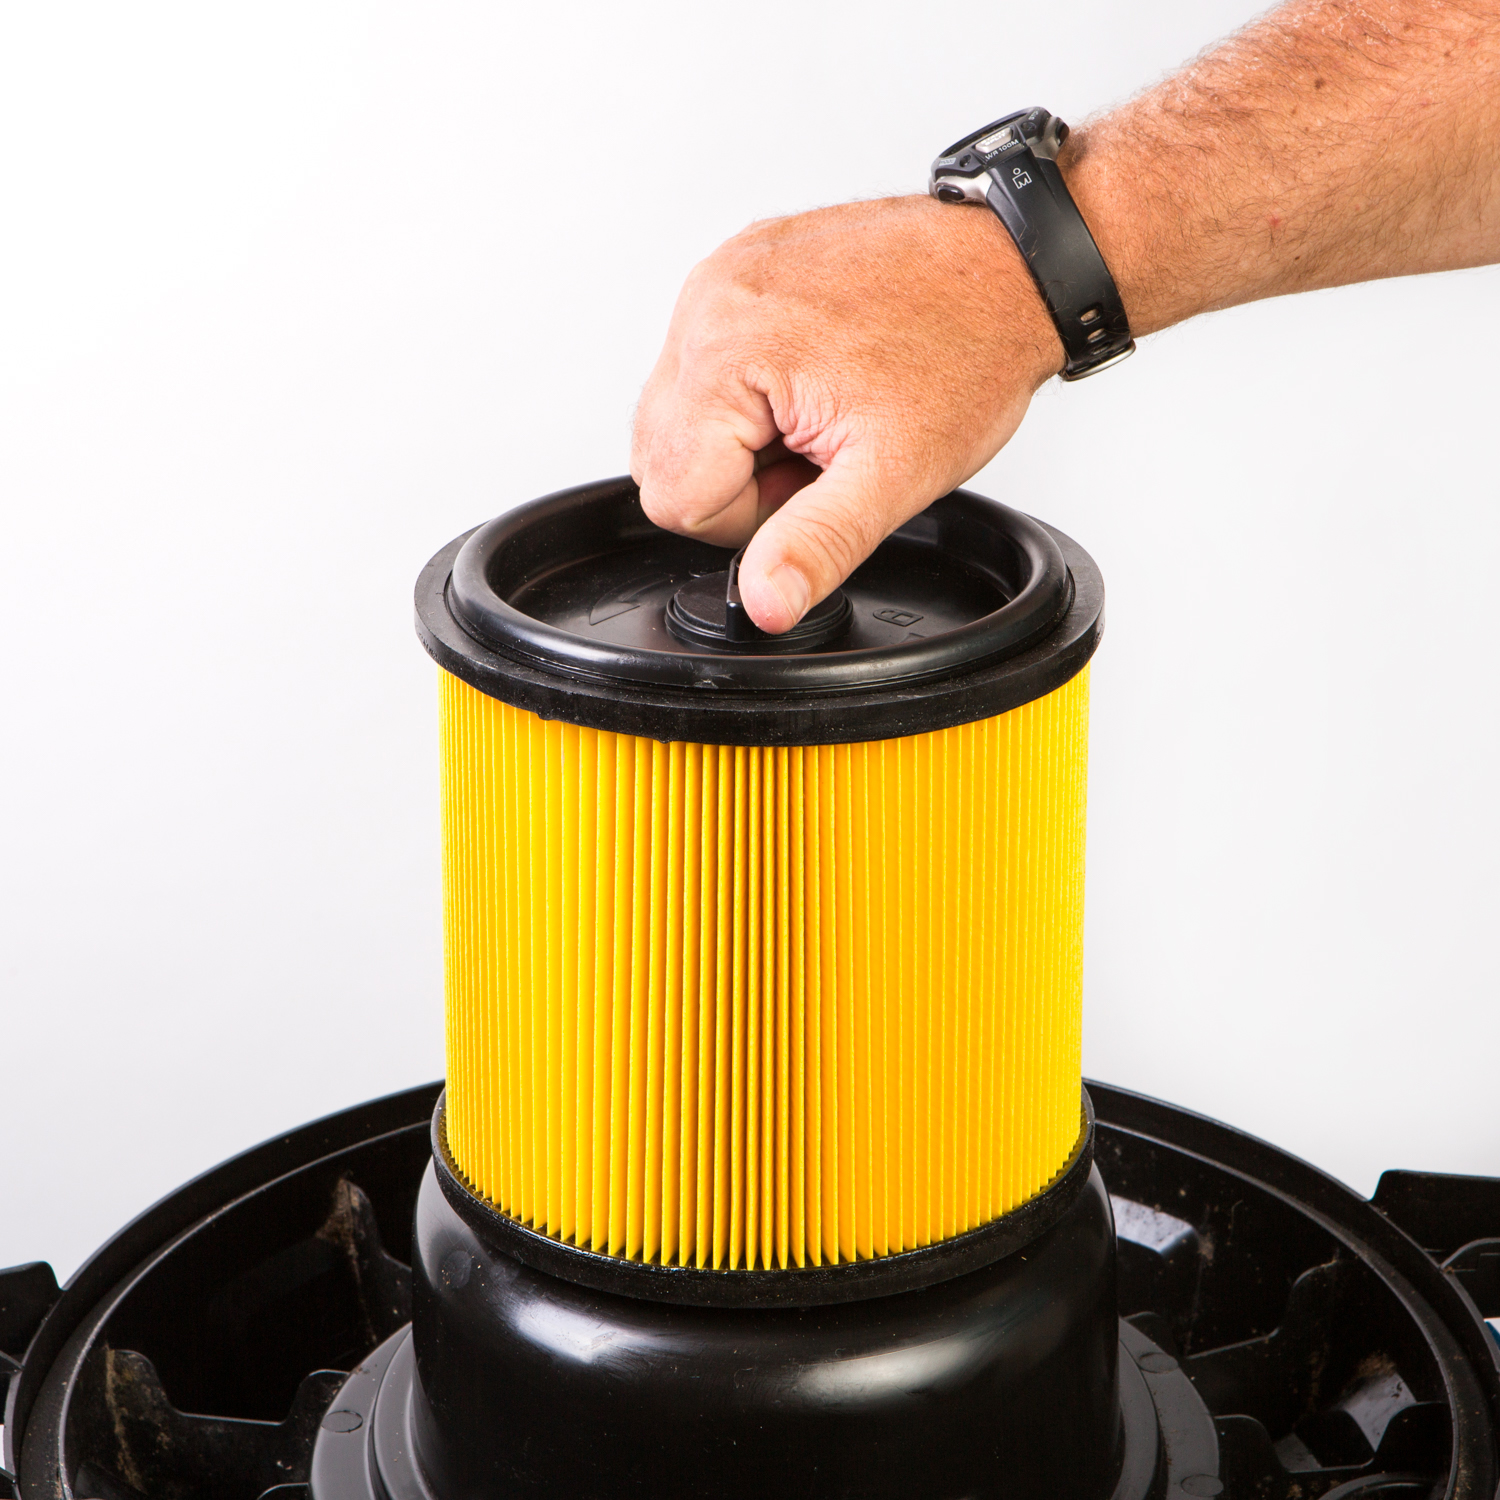
Step 4: Place the filter retainer on top of the cartridge filter and tighten down by turning the retainer clockwise.
 Pro tip: The
cartridge or cloth filter that came with your vacuum and/or a Disposable Filter
Bag are to be used for dry vacuuming only. The cartridge/cloth filter and
filter bag must be removed after dry vacuuming, prior to any wet vacuum
operation. With most jobs you can use a standard cartridge/cloth filter. For
specialty applications like drywall or fine dust vacuuming, a HEPA material
exhaust or fine dust cartridge filter is best.
Pro tip: The
cartridge or cloth filter that came with your vacuum and/or a Disposable Filter
Bag are to be used for dry vacuuming only. The cartridge/cloth filter and
filter bag must be removed after dry vacuuming, prior to any wet vacuum
operation. With most jobs you can use a standard cartridge/cloth filter. For
specialty applications like drywall or fine dust vacuuming, a HEPA material
exhaust or fine dust cartridge filter is best.
Installing a Wet Vac Filter:
Step 1: Always check that the power cord is disconnected from the outlet.
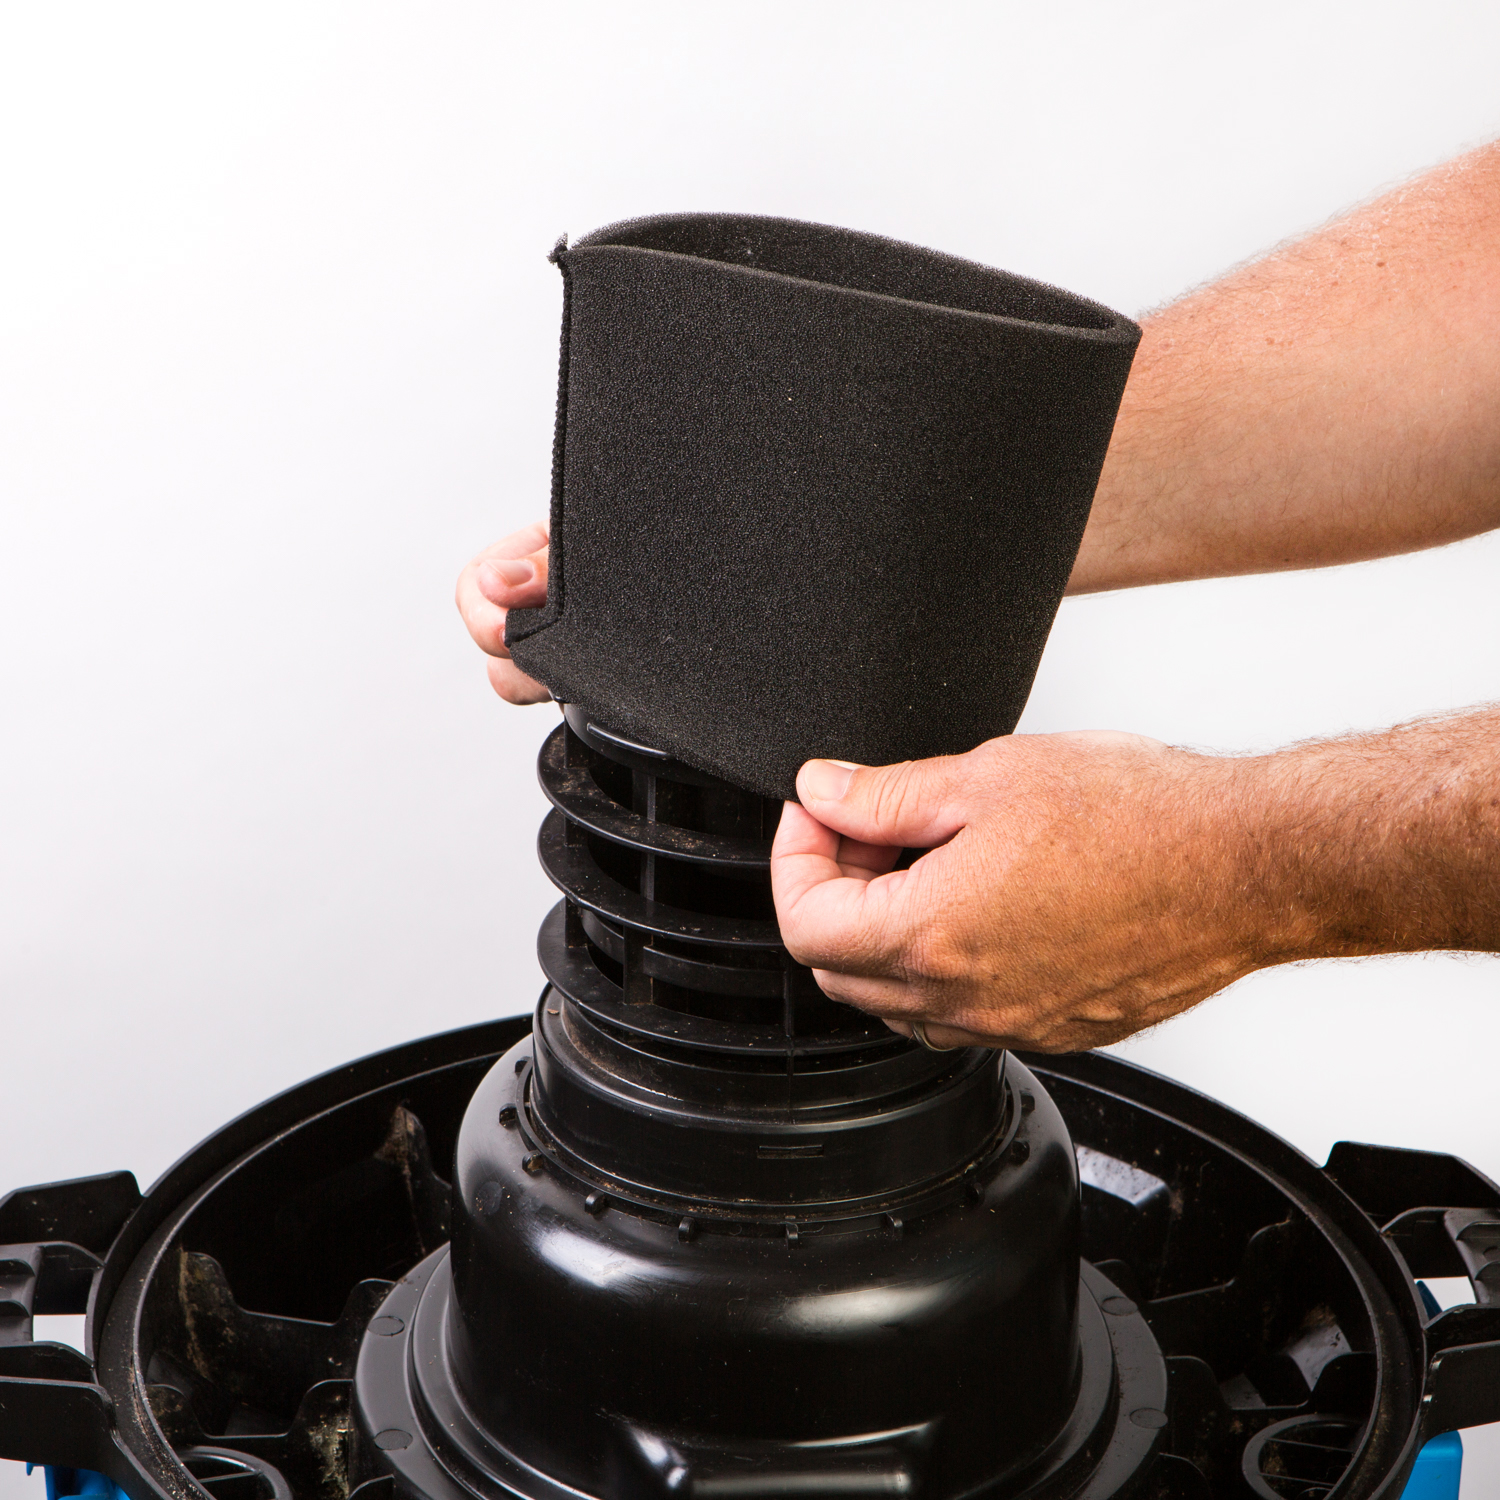
Step 2: Remove the power head and place in upside down position.
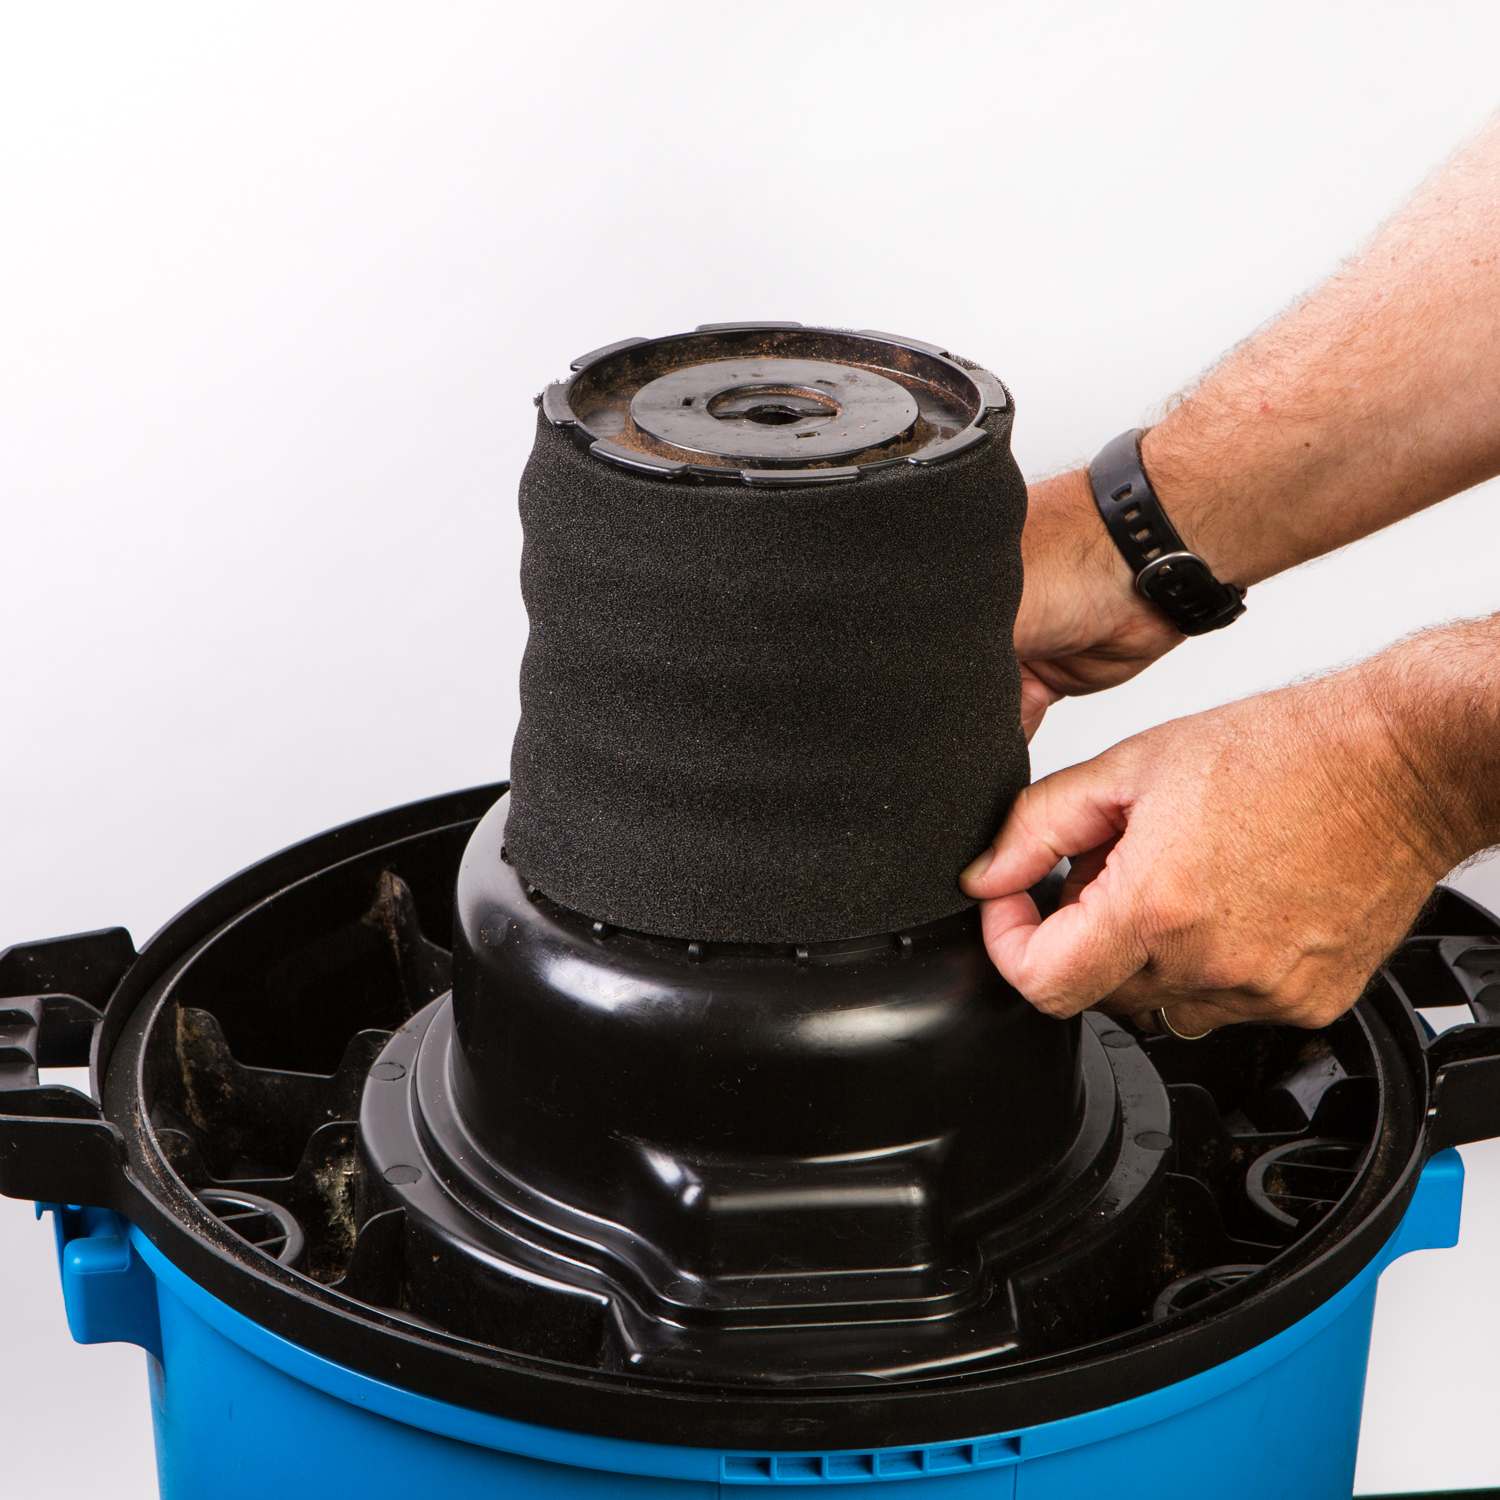
Step 3: Carefully slide foam wet filter down over the filter cage making sure the whole cage is covered.
Step 4: Place the power head back on the container and get to wet vacing!
Pro tip: It’s important the foam wet filter be removed after wet vacuuming prior to any dry vacuum operation. Clean the foam wet filter by carefully removing from filter cage and cleaning with mild soap and water; rinse with clean water and allow foam wet filter to air dry before using again.
Changing out a HEPA Material Exhaust Filter:
Step 1: Always check that the power cord is disconnected from the outlet.
Step 2: Unlock the filter door by lifting the lock tab UP to the unlocked position and pull the door out.
Step 3: Remove the HEPA material exhaust filter from the vacuum.
Step 4: Install cleaned or new filter into place.
Step 5: Insert the filter door tabs into the upper slots and lock the filter door into place.
Pro tip: Clean the HEPA material exhaust filter by brushing dirt off with a dry paint brush.
It’s important to clean or replace your filters regularly for best performance and clean up. Always use filters or your machine could be at risk for a motor burn out and make sure to keep spare filters on hand.
Have more questions on wet/dry vac filters? Check out our FAQs for more info.